Accidents happen, and one common scenario is dropping your iPhone in water. Whether it’s an unexpected downpour or an unfortunate slip into a saltwater pool, knowing the right steps to take can make all the difference. The advice in this article applies to most water-related situations, but note that saltwater can cause unique damage compared to freshwater. Regardless of whether you own a water-resistant model or an older iPhone that isn’t, these steps will guide you through what to do when your device gets wet.
First and foremost, turn off your iPhone immediately. This cannot be stressed enough. As soon as you retrieve your iPhone from the water, power it down right away. For most models, this can be done by holding the Side button and the Volume Up button simultaneously, then sliding to power off. Resist the temptation to check if it still works—turning it on too soon can cause short circuits and worsen any damage.

Next, remove your iPhone from its case. Cases and screen protectors can trap water, prolonging contact with your device. Carefully take off the case and any accessories, such as chargers or attached gadgets. Once the iPhone is bare, use a lint-free cloth to gently dry the exterior. A microfiber cloth is ideal, but in a pinch, a clean T-shirt can work as well. Avoid rubbing too hard, as this can push moisture deeper into the device.
After the initial drying, it’s important to drain any liquid from your iPhone. Water can seep into charging ports, speakers, and headphone jacks, causing internal damage. Hold your iPhone so that these entry points face downward and lightly tap the device to encourage drainage. Be cautious and gentle—shaking your phone aggressively could spread the liquid to more sensitive areas. Repeat this process for all potential entry points until no more water appears to be coming out.
To further minimize potential damage, remove your SIM card. Even if your iPhone appears dry on the outside, there’s a good chance some liquid remains inside. Use a SIM card removal tool or a small paperclip to eject the SIM tray. Take out the SIM card, dry it thoroughly, and store it in a safe place. Leaving the tray open allows additional airflow, which helps evaporate any trapped moisture. If your iPhone relies solely on an eSIM, you can skip this step.
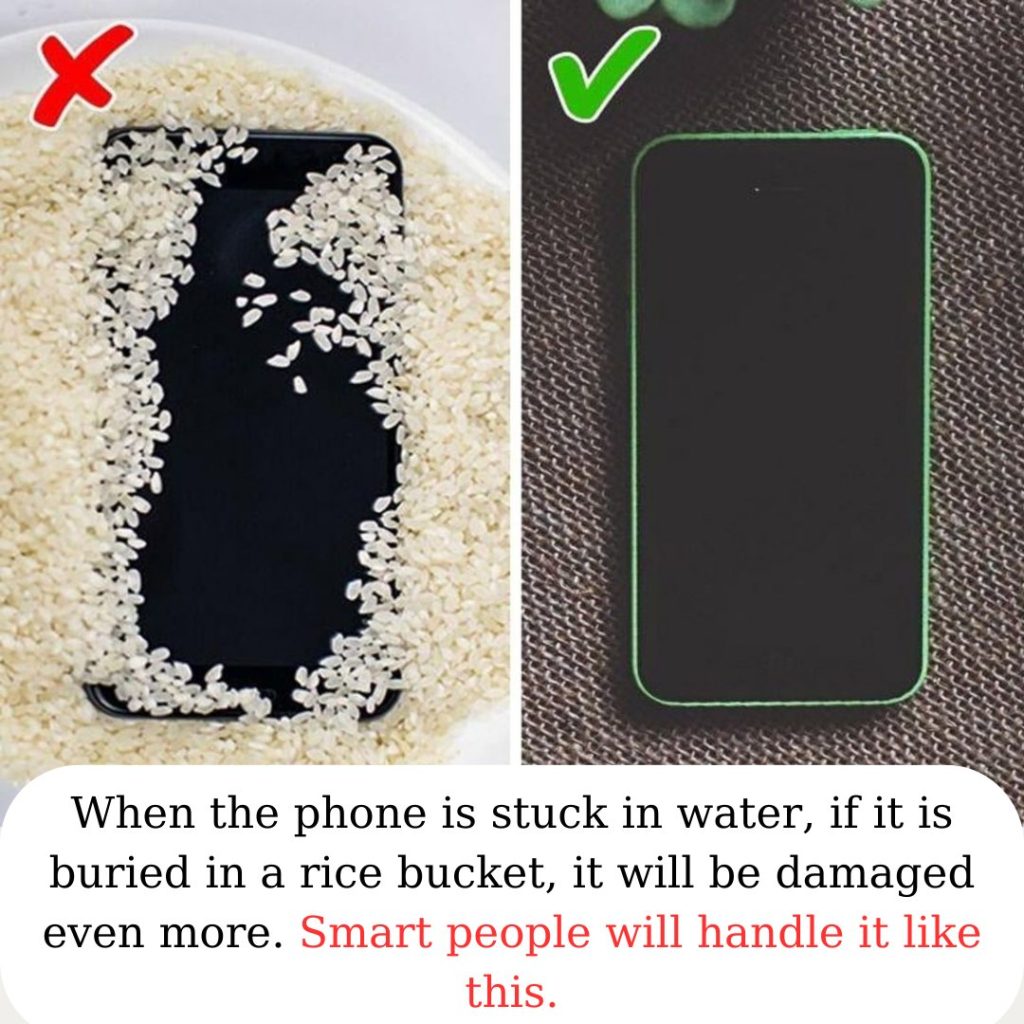
Now comes the hardest part: waiting for your iPhone to dry. You may have heard about the popular “put it in rice” method, but this is more of a myth than a reliable solution. While rice can absorb some moisture, it’s not effective enough to dry out an iPhone thoroughly. Worse, rice particles could get lodged in your phone’s ports, creating more problems. Instead, place your iPhone in a flat, well-ventilated, and dry area. A bookshelf or a countertop away from direct sunlight is ideal. Direct exposure to sunlight can overheat your device, potentially causing further damage.
Patience is key during this phase. Allow at least 24 to 48 hours for your iPhone to air dry. While waiting, resist the urge to turn it on or plug it in to “test” its functionality. Using your iPhone while it’s still wet can result in permanent damage to internal components. The longer you wait, the better the chances of recovery.
When you feel confident that the device is completely dry, you can attempt to turn it back on. The drying time may vary depending on the situation; for example, an iPhone dropped in a lake might need more time than one briefly submerged in a sink. If your iPhone doesn’t turn on right away, don’t panic—this doesn’t necessarily mean it’s beyond repair. In such cases, consider consulting a professional technician or visiting an Apple Store for further assistance.
In summary, handling a water-damaged iPhone requires quick thinking and careful steps. Turning off the device immediately, removing accessories, draining excess liquid, and allowing ample drying time are critical to minimizing damage. Avoid common myths like the rice method, and instead focus on proven techniques to protect your device. With patience and proper care, you might just save your iPhone from a watery demise.


