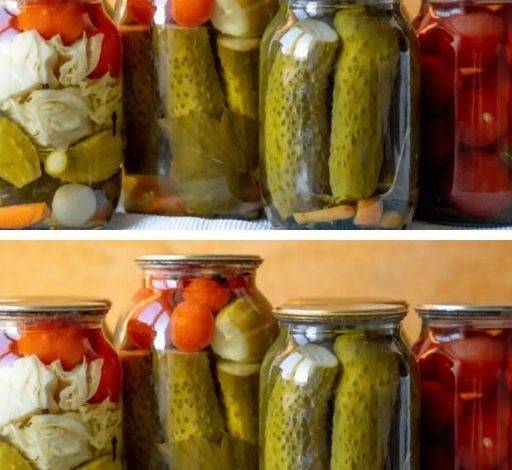
If you’re looking for a way to preserve the delightful taste of cherry tomatoes year-round, this simple and delicious pickled cherry tomatoes recipe is the perfect solution. Pickling is a great method to enhance the natural flavors of tomatoes while adding a tangy twist. Follow these step-by-step instructions to create your own batch of pickled cherry tomatoes, ideal for serving as a snack, side dish, or garnish for various meals.

Ingredients:
- 1 kg cherry tomatoes
- 2 cups white vinegar
- 2 cups water
- 2 tablespoons salt
- 2 tablespoons sugar
- 1 tablespoon peppercorns
- 4 garlic cloves, peeled
- 4 sprigs of fresh dill
Instructions:
- Sterilize the Jars: The first step in this recipe is ensuring that your jars are properly sterilized. This is crucial to prevent bacteria growth and to ensure your pickled tomatoes stay fresh for as long as possible. To sterilize the jars, place them in a large pot of boiling water for about 10 minutes. Make sure that the water completely covers the jars during the boiling process. After 10 minutes, carefully remove the jars and set them aside on a clean surface to dry. While the jars are cooling, move on to the next steps.
- Prepare the Jars for Filling: Once your jars are sterilized and completely dry, it’s time to prepare them for filling. Begin by placing a peeled garlic clove, a few peppercorns, and a sprig of dill into each jar. These aromatics will infuse the tomatoes with fantastic flavors as they pickle. After adding these ingredients, start packing the cherry tomatoes into the jars. It’s important to pack the tomatoes tightly, but be careful not to squish or damage them. Leave about 1/2 inch of space at the top of the jar for the brine.


- Make the Pickling Brine: The brine is the star of this pickling recipe, as it provides the distinct tangy flavor that makes pickled tomatoes so special. To make the brine, combine 2 cups of white vinegar, 2 cups of water, 2 tablespoons of salt, and 2 tablespoons of sugar in a large pot. Place the pot over medium heat and bring the mixture to a boil. Stir the brine continuously to ensure that the salt and sugar fully dissolve. Once the brine comes to a boil and all the ingredients are well combined, it’s ready to be poured over the tomatoes.
- Fill the Jars with Brine: Carefully pour the hot brine into each jar, covering the tomatoes. Leave about 1/2 inch of headspace at the top of each jar to allow for expansion during the sealing process. Make sure the tomatoes are fully submerged in the brine to ensure even pickling. If any tomatoes are sticking out, gently press them down until they are covered by the liquid.
- Seal and Process the Jars: Once the jars are filled with the brine, seal them tightly with their lids. To ensure a long shelf life, you’ll need to process the jars in a boiling water bath. Place the sealed jars back into the pot of boiling water and process them for about 10 minutes. This step is essential to kill any remaining bacteria and to create a vacuum seal that will keep your pickled tomatoes fresh for months.
- Cool and Store: After processing, carefully remove the jars from the boiling water and let them cool completely at room temperature. Once they are cool, check that the lids have sealed properly by pressing down in the center. If the lid doesn’t pop back up, the jar is sealed. Store your pickled cherry tomatoes in a cool, dark place. For the best flavor, let them sit for at least a week before enjoying. This will give the flavors time to develop and deepen.
These pickled cherry tomatoes are a delicious way to enjoy fresh produce throughout the year!


